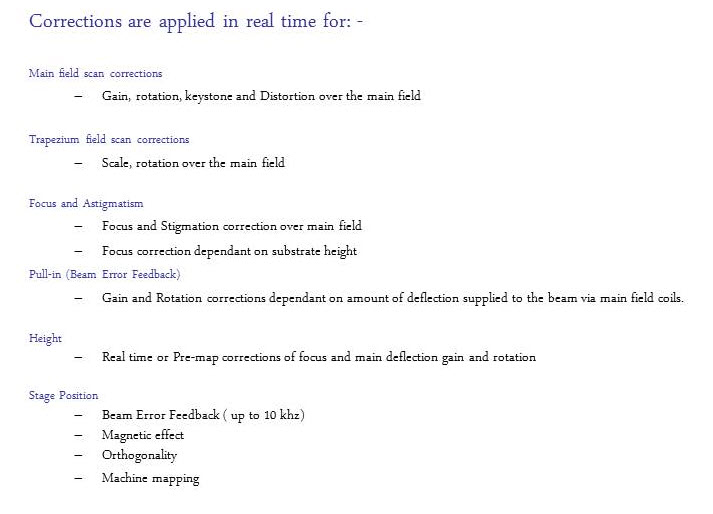
Introduction to EBPG Principle

The pattern is split into fields (or “blocks”) that are smaller than the maximum beam deflection. After writing one field, the sample stage must move. Patterns are further broken down into “subfields” which are typically tens of microns in size. A 20-bit DAC deflects the beam to the origin of each subfield. Shapes inside a subfield are further broken down into small trapezoids that can be filled in (or “painted”) with a high-speed 14 bit DAC. Most e-beam writers use a rigid grid of subfields. The EBPG’s pattern generator can use a fixed grid of subfields, or it can use a 20-bit “main field” deflection for each shape. However, most pattern conversion programs (such as Genisys Beamer or Synopsis CATS) do not give you this choice. Your patterns will always be chopped into a rigid grid of subfields.
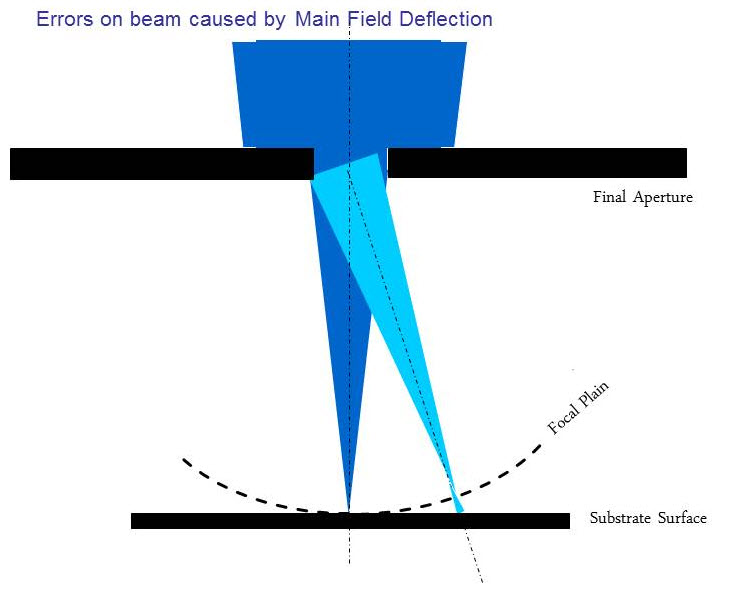
Introduction to EBPG Principle- page 2
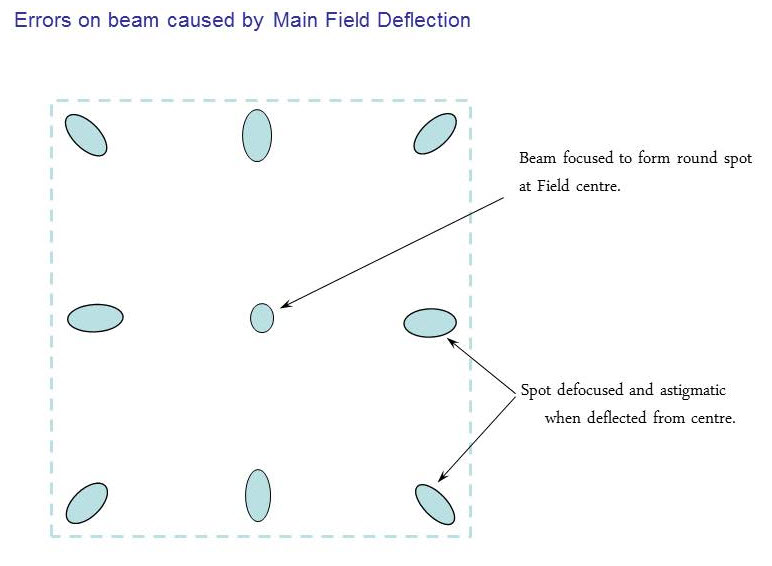
Introduction to EBPG Principle- page 3

Substrate Height Effect
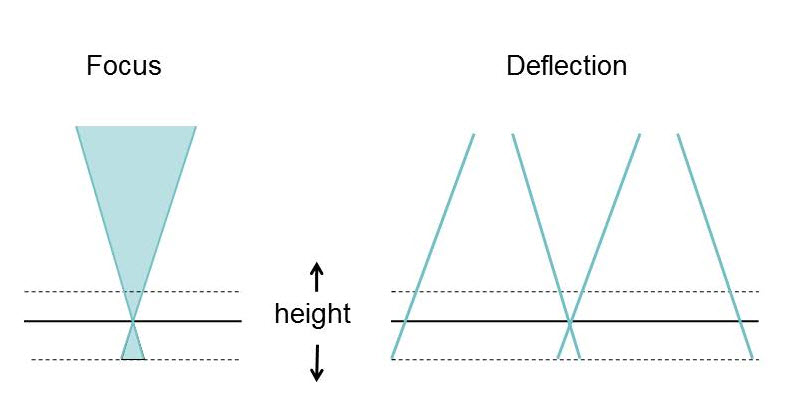
As the substrate height varies, the system must correct both focus and field size. The depth of focus is actually quite large– several microns. Correcting the field size is more critical, since this determines field stitching accuracy. You can see now why smaller field block sizes lead to smaller stitching errors.
On the EBPG you should keep the block size less than 700 um so that field stitching errors will be less than 50 nm. The maximum block size is equal to the maximum field, 1 mm. But it would be a mistake to use such a large deflection.